In today's rapidly evolving software development landscape, automation plays a crucial role in meeting the demands of modern development cycles. Among the most essential tools in the DevOps toolkit is Jenkins, an open-source automation server widely associated with Continuous Integration (CI) and Continuous Delivery (CD). This article explores the significance of Jenkins and its role in the development process. However, to fully appreciate its value, it’s important to first understand the concepts of CI/CD.
What is CI/CD?
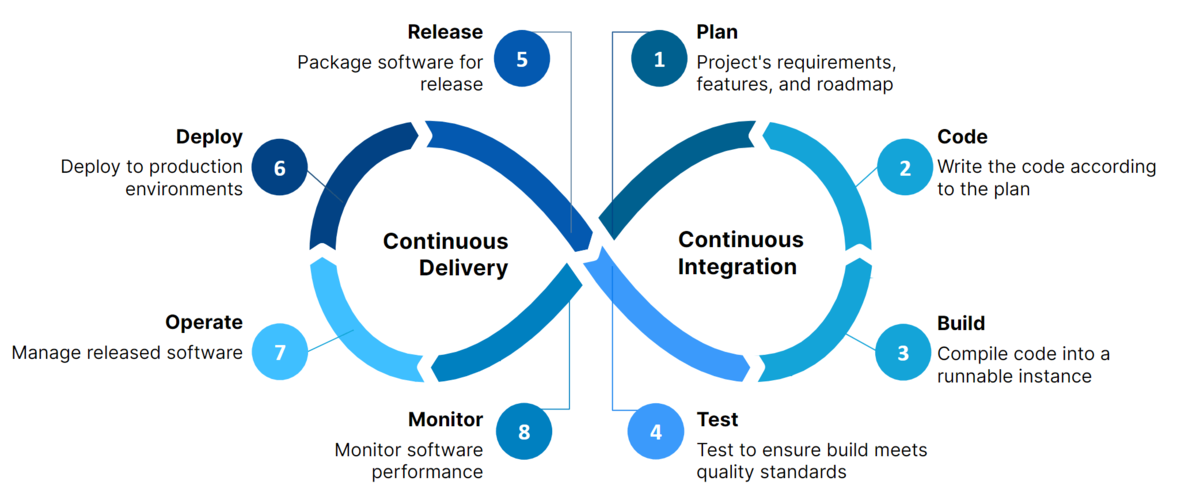
Continuous Integration (CI) is a development practice that focuses on automating the process of merging code changes from multiple developers into a shared repository. Developers regularly commit their code to a central repository, such as GitHub, where automated tools handle tasks like building the newly added code and performing code reviews upon integration. The primary objectives of CI include identifying and resolving bugs more quickly, streamlining the integration process for teams, enhancing software quality, and accelerating the delivery of new feature updates.
Continuous Delivery (CD) builds on Continuous Integration, focusing on ensuring that new changes can be delivered to customers quickly and reliably. It involves running integration and regression tests in a staging environment that closely mirrors production, ensuring the final release functions correctly. CD emphasizes automating the release process to maintain a consistently deployment-ready product, enabling the application to be deployed at any time with confidence.
What is Jenkins?
Jenkins is an open-source automation server designed to streamline Continuous Integration and Continuous Delivery (CI/CD) processes in software development. It automates key stages of the development lifecycle, such as building, testing, and deploying applications. With its extensive library of plugins, Jenkins can integrate seamlessly with numerous tools and technologies, enhancing its adaptability within the development pipeline.

Advantages of Jenkins
Jenkins is driven by an open community that holds monthly public meetings and actively gathers user feedback to advance the project.
With a library of over 1,900 plugins, Jenkins stands out for its adaptability and efficiency, leveraging plugins to outperform many other tools.
It is designed with cloud compatibility in mind, making it ideal for integration with cloud-based platforms.
It provides excellent support for parallel test execution, significantly speeding up testing by running multiple tests simultaneously.
Jenkins Pipeline
In Jenkins, a pipeline represents a sequence of tasks or events arranged in a specific order. It is a collection of modules or plugins that facilitate the creation and integration of continuous delivery pipelines within the Jenkins environment.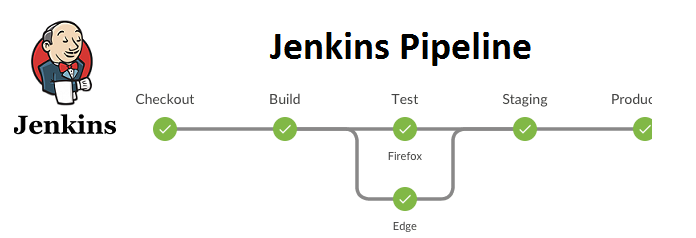
A pipeline is generally organized into multiple stages, each consisting of a series of steps. Each step represents an individual task, while stages group related steps together. For instance, a pipeline might include stages such as
Build,TestandDeploy. Additionally, you can execute existing jobs as part of a pipeline.The pipeline's structure is defined in a text file called the
Jenkinsfile. Following the pipeline-as-code approach, it is recommended to commit the Jenkinsfile to the project's source code repository. This allows the pipeline to be managed, reviewed, and version-controlled alongside the rest of the source code.Alternatively, a pipeline can also be created and configured through Jenkins' web interface. Regardless of the method used, the syntax remains consistent.
Setup Jenkins and AWS EC2
Install Jenkins
You can refer to the Jenkins GitHub repository for guidance at https://github.com/jenkinsci/docker.
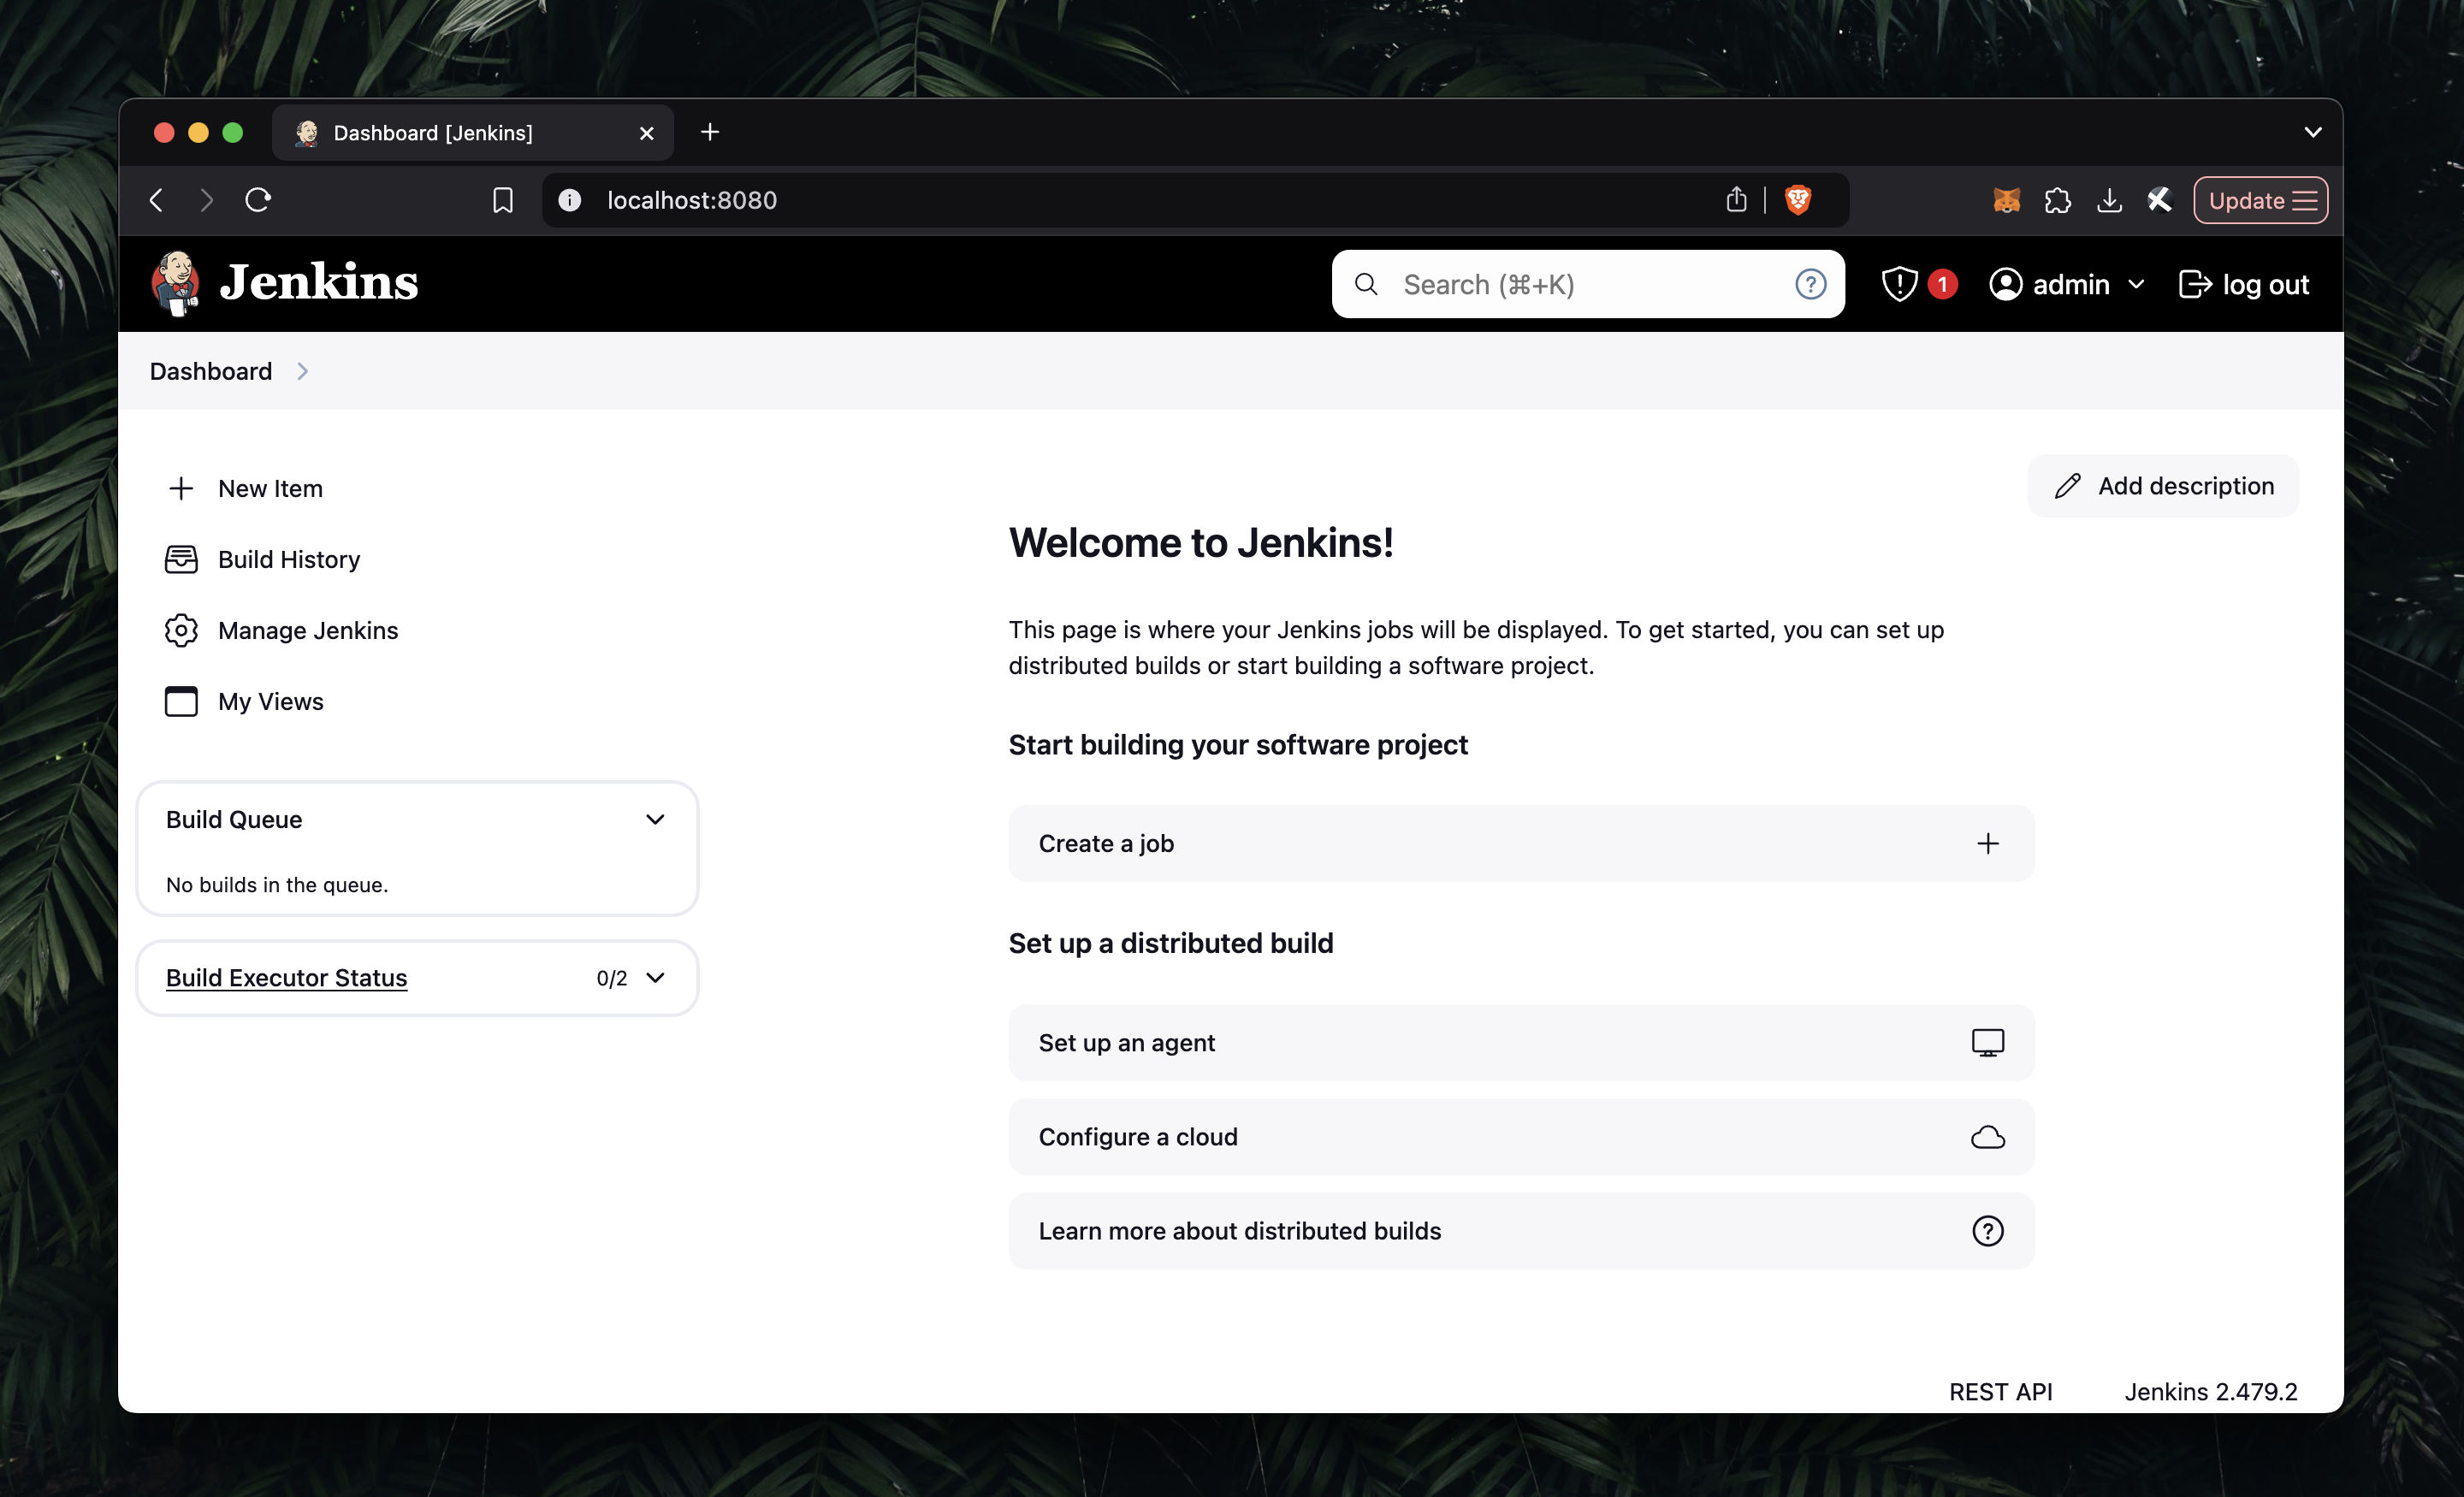
Next, open your browser and navigate to localhost:8080 to start the Jenkins setup. Follow the usual setup process, and the image above shows how Jenkins will appear afterward.
Setup EC2 Instance
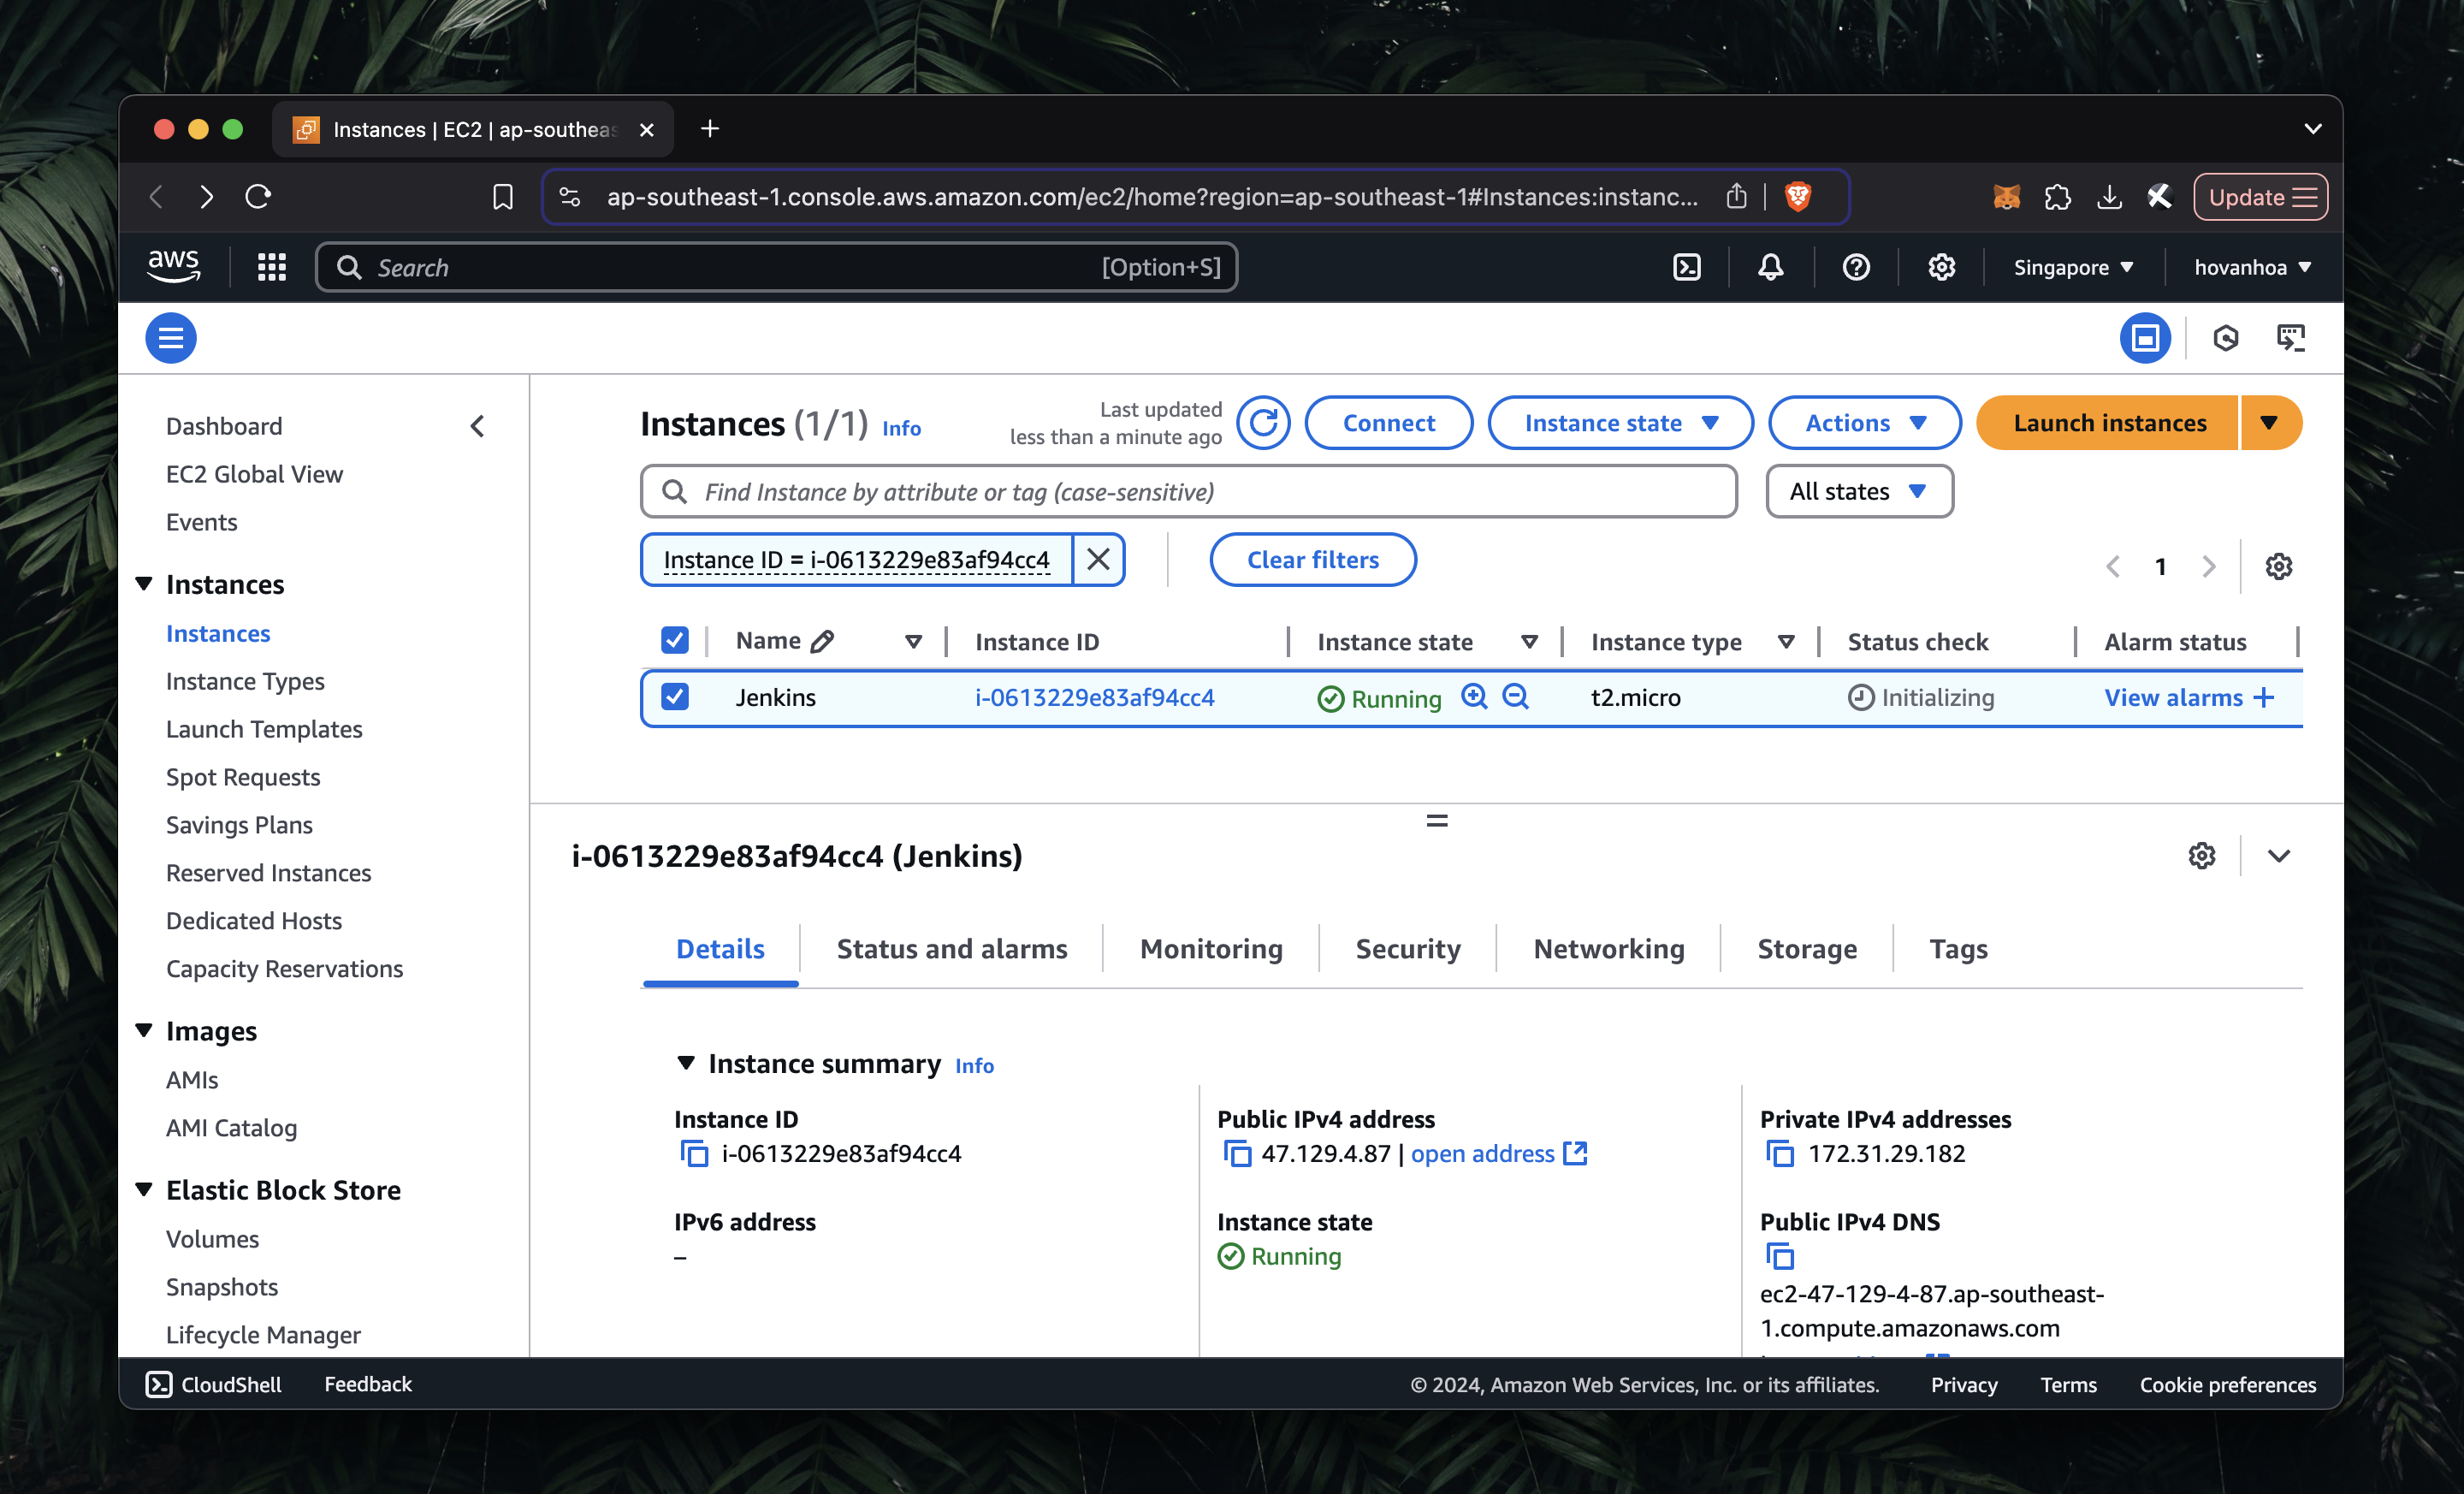
Log in to AWS and create an EC2 instance following the standard procedure. Ensure to configure the instance with the appropriate settings, such as selecting the desired AMI, instance type, and key pair for SSH access, just as you would for any typical EC2 creation process.
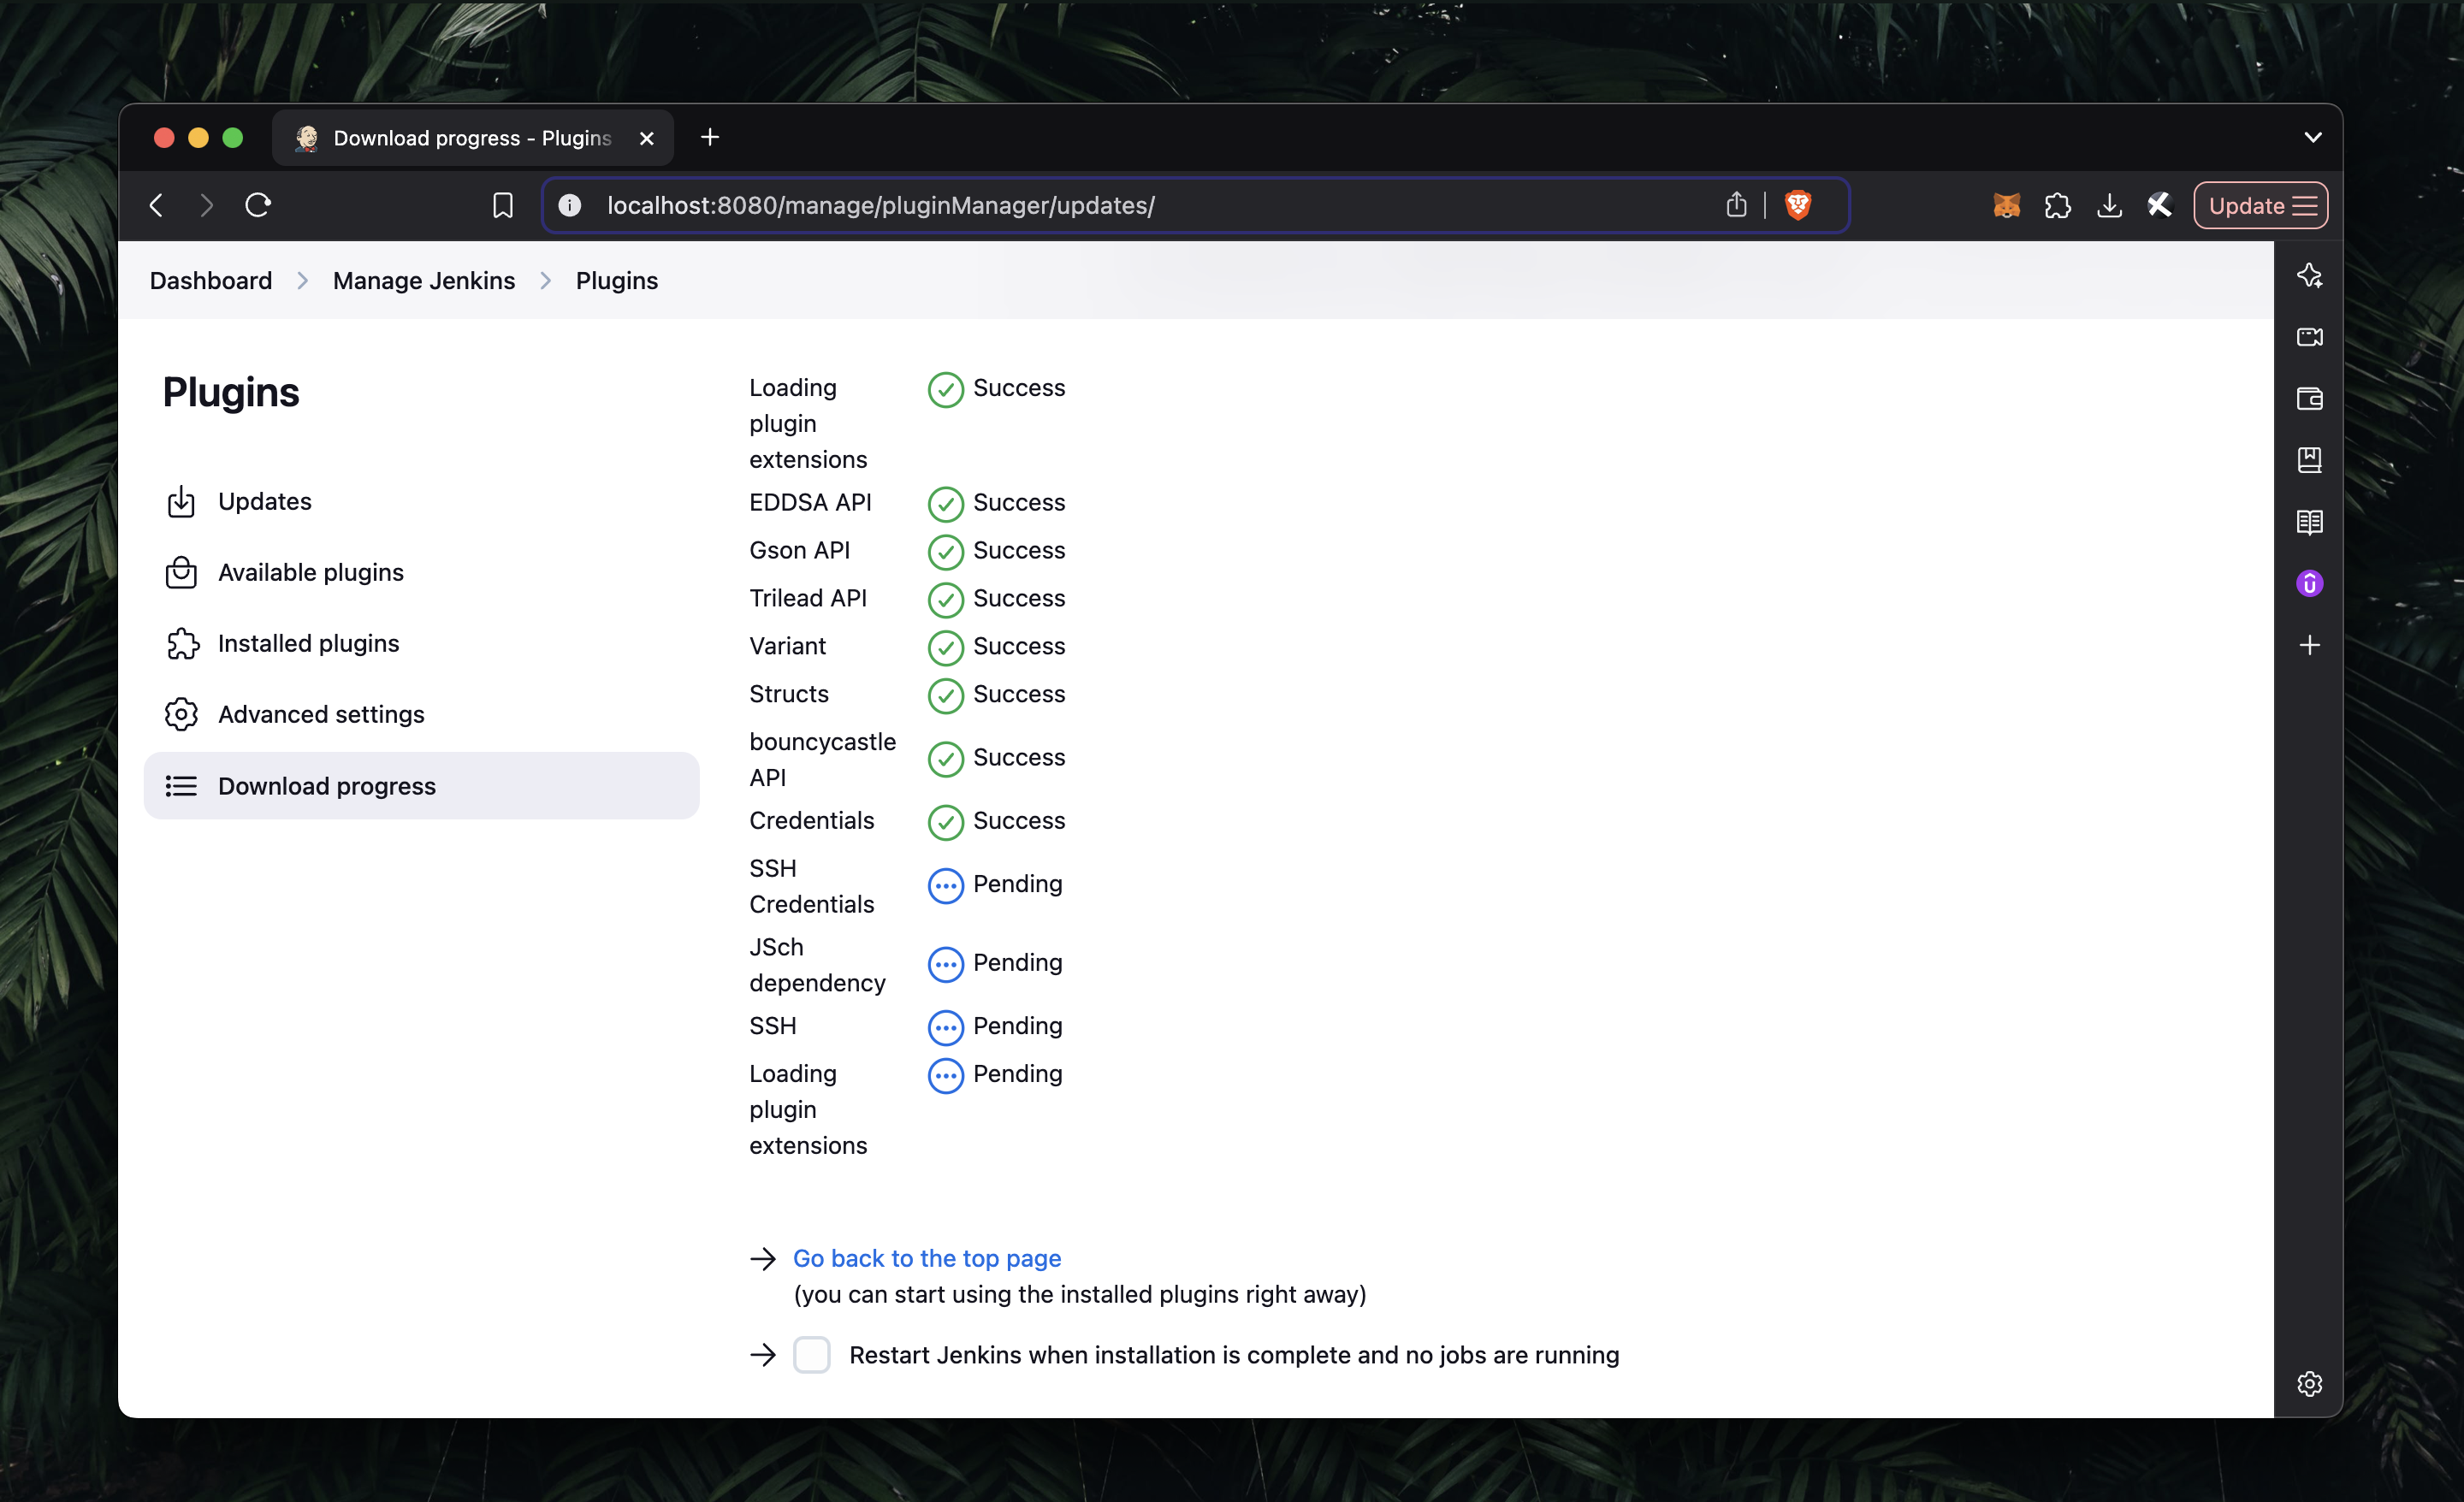
Install SSH plugin
To install plugins in Jenkins, go to Settings → Manage Jenkins → Plugins. From there, search for "SSH" to install the required plugin
Setup SSH sites
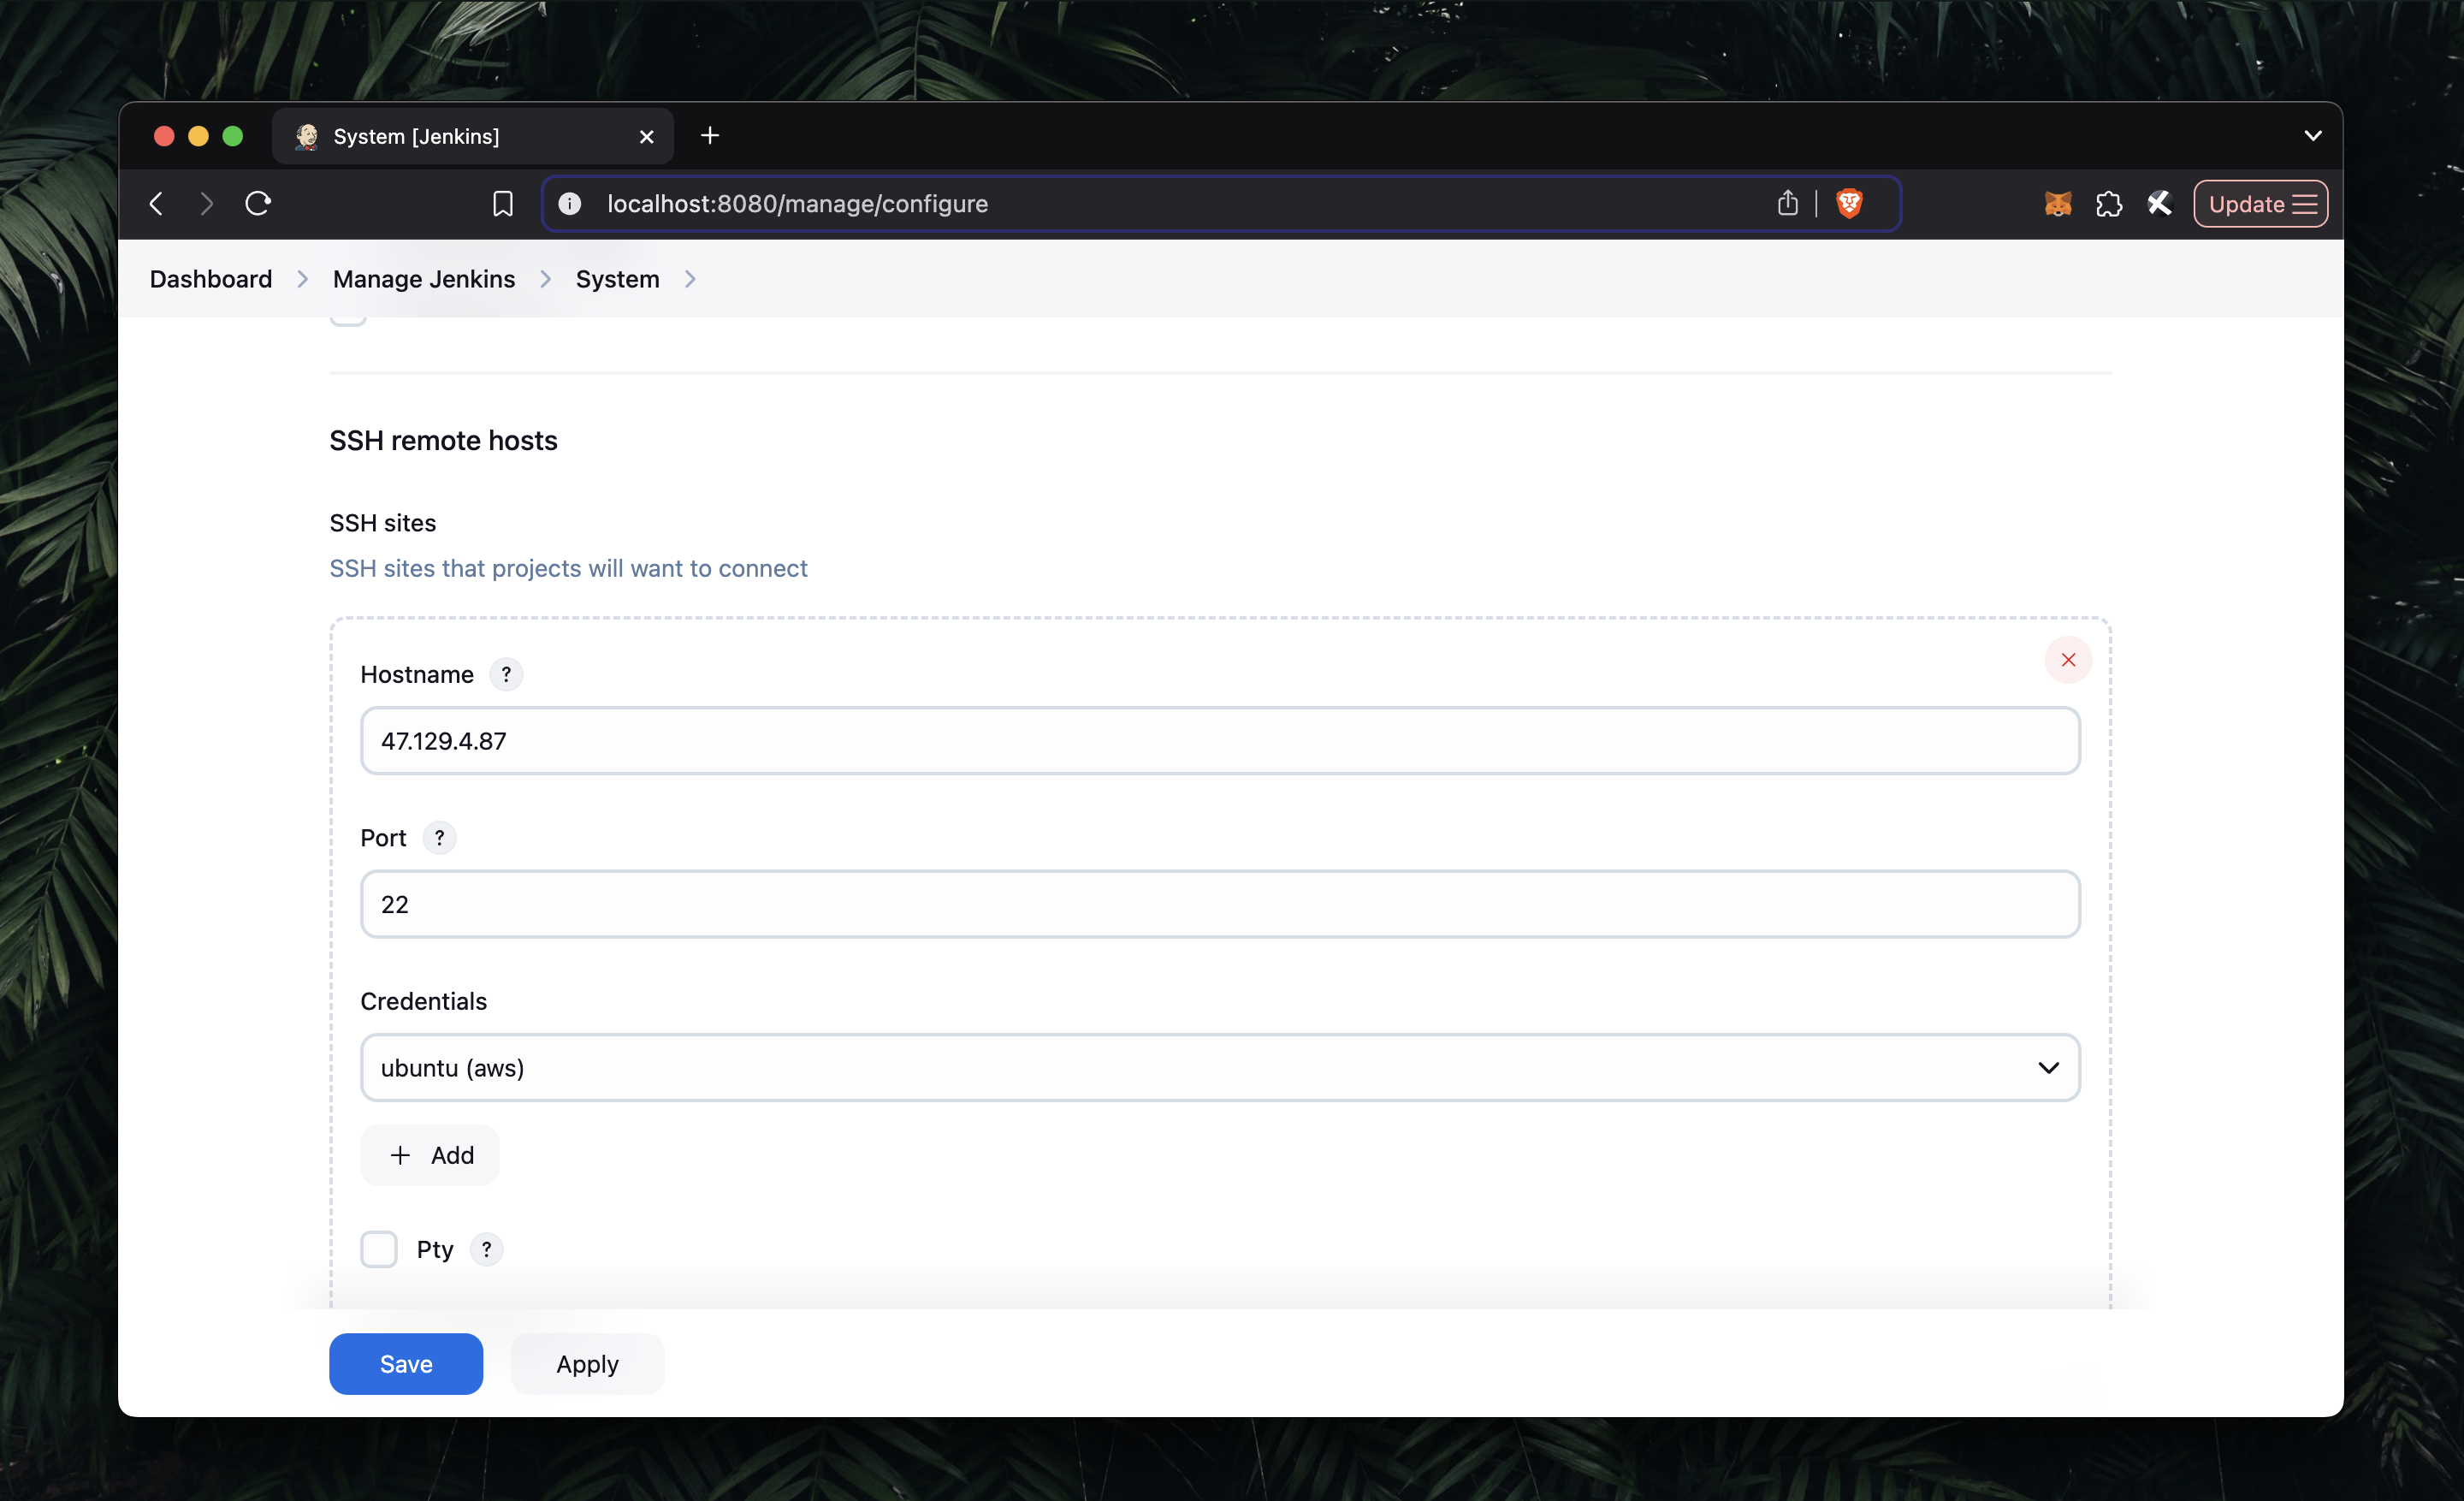
Go to Manage Jenkins → Configure System, then locate the SSH Remote Hosts section. Enter the hostname of your EC2 instance, specify port 22, and provide your credentials by uploading the private key associated with your EC2 instance to authenticate the connection. This will allow Jenkins to securely communicate with your EC2 instance.
Setup Jenkins Pipeline
We will set up a pipeline for the URL shortener, which you can reference at Building a URL Shortener Service using Golang.
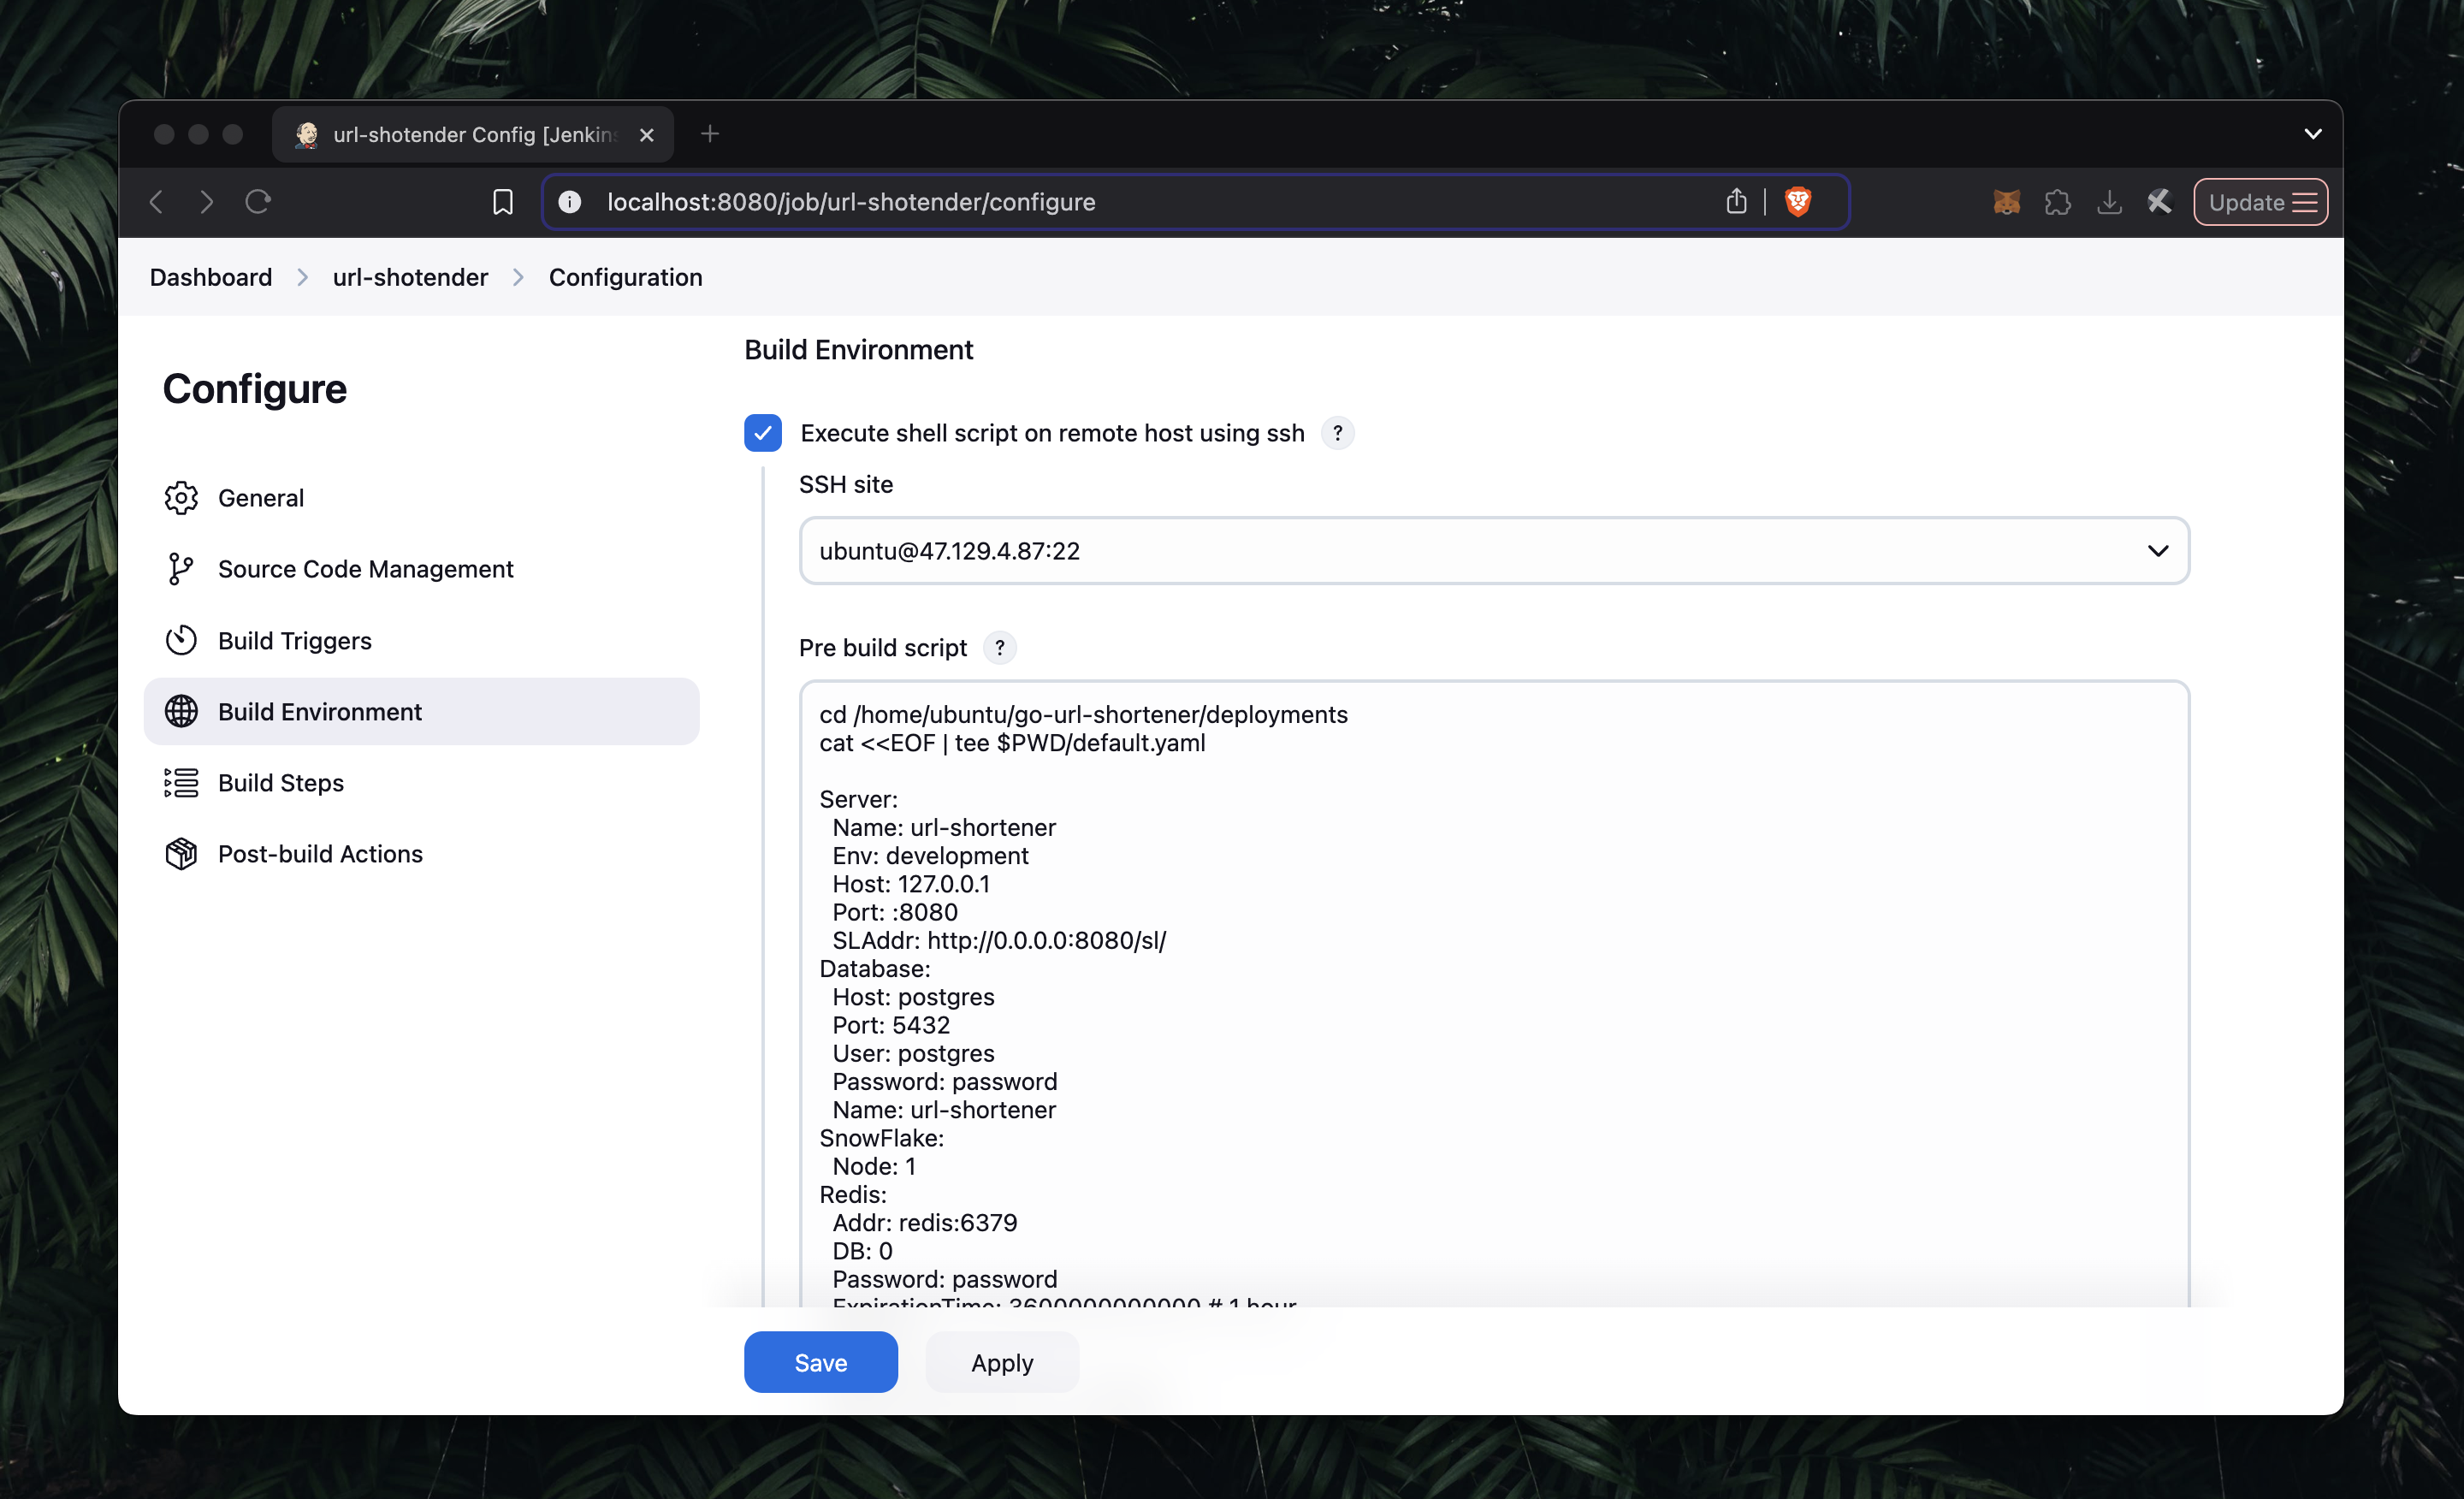
Select the option "Execute shell script on remote host using SSH" and configure the pre-build script to write an environment file, ensuring the setup functions correctly.
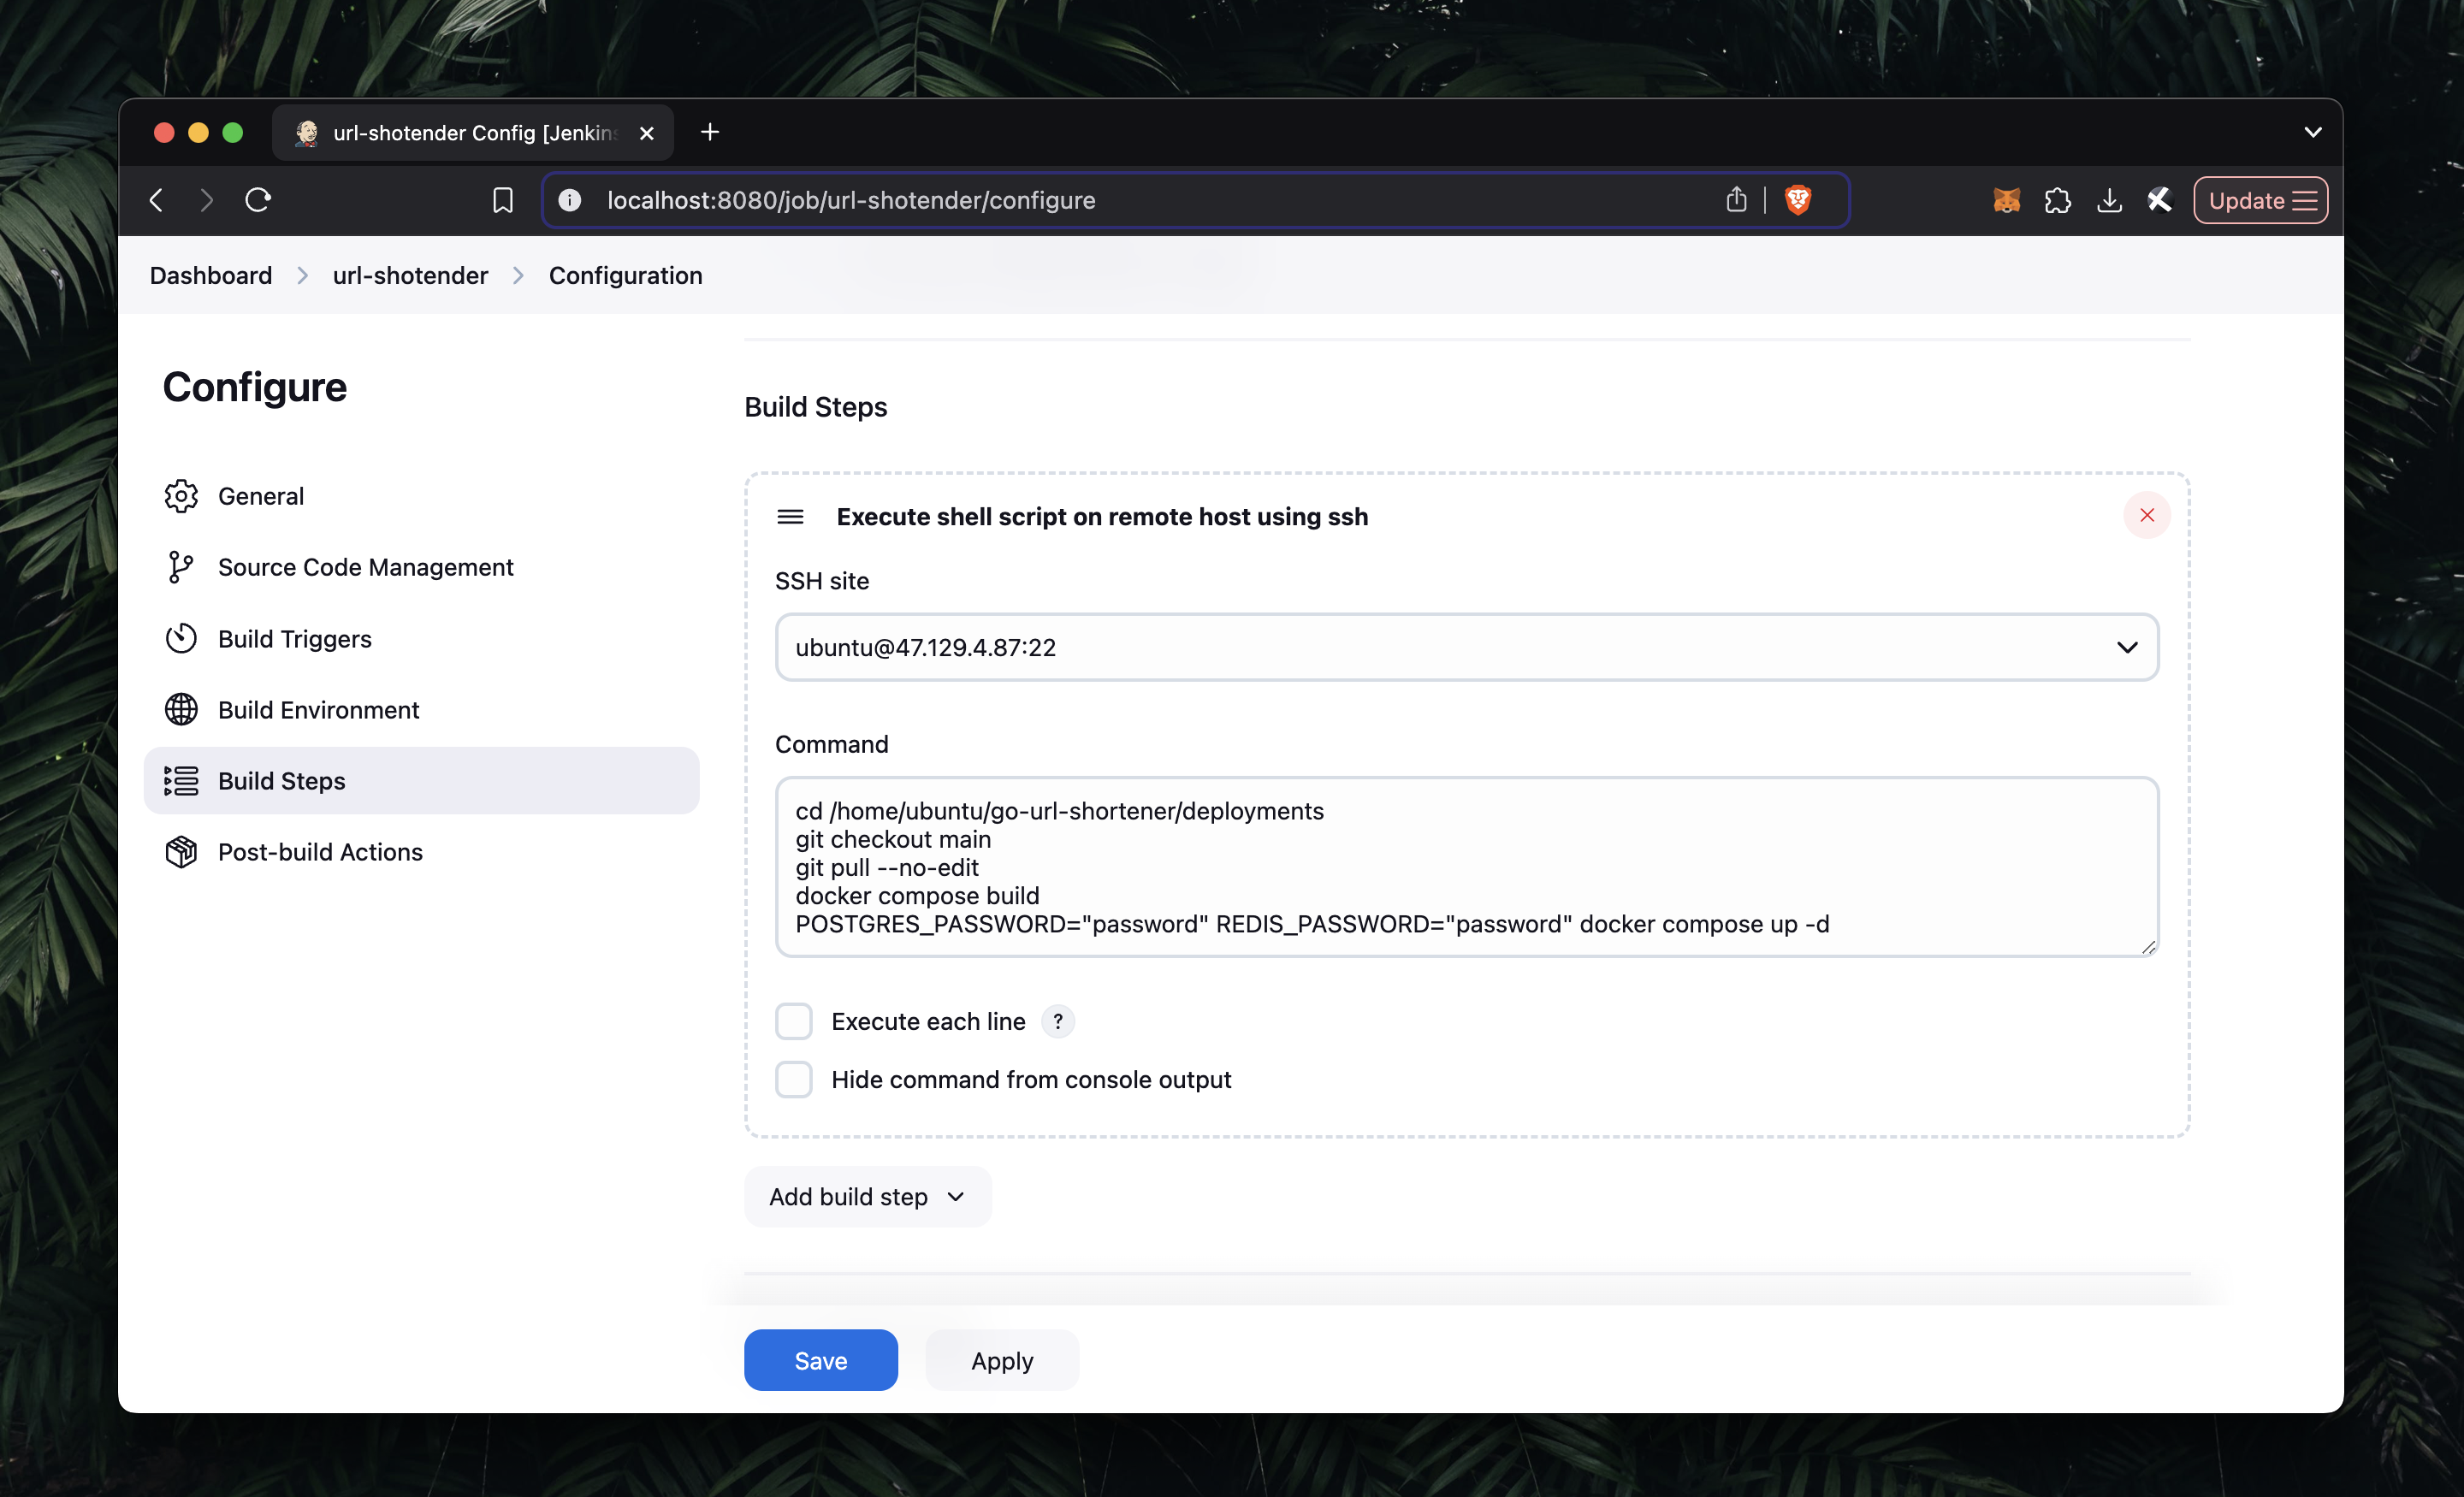
Configure the build steps to execute a shell script on a remote host using SSH. Navigate to the repository folder and initialize Docker Compose to run the application.
Then, Save and click on “Build Now”
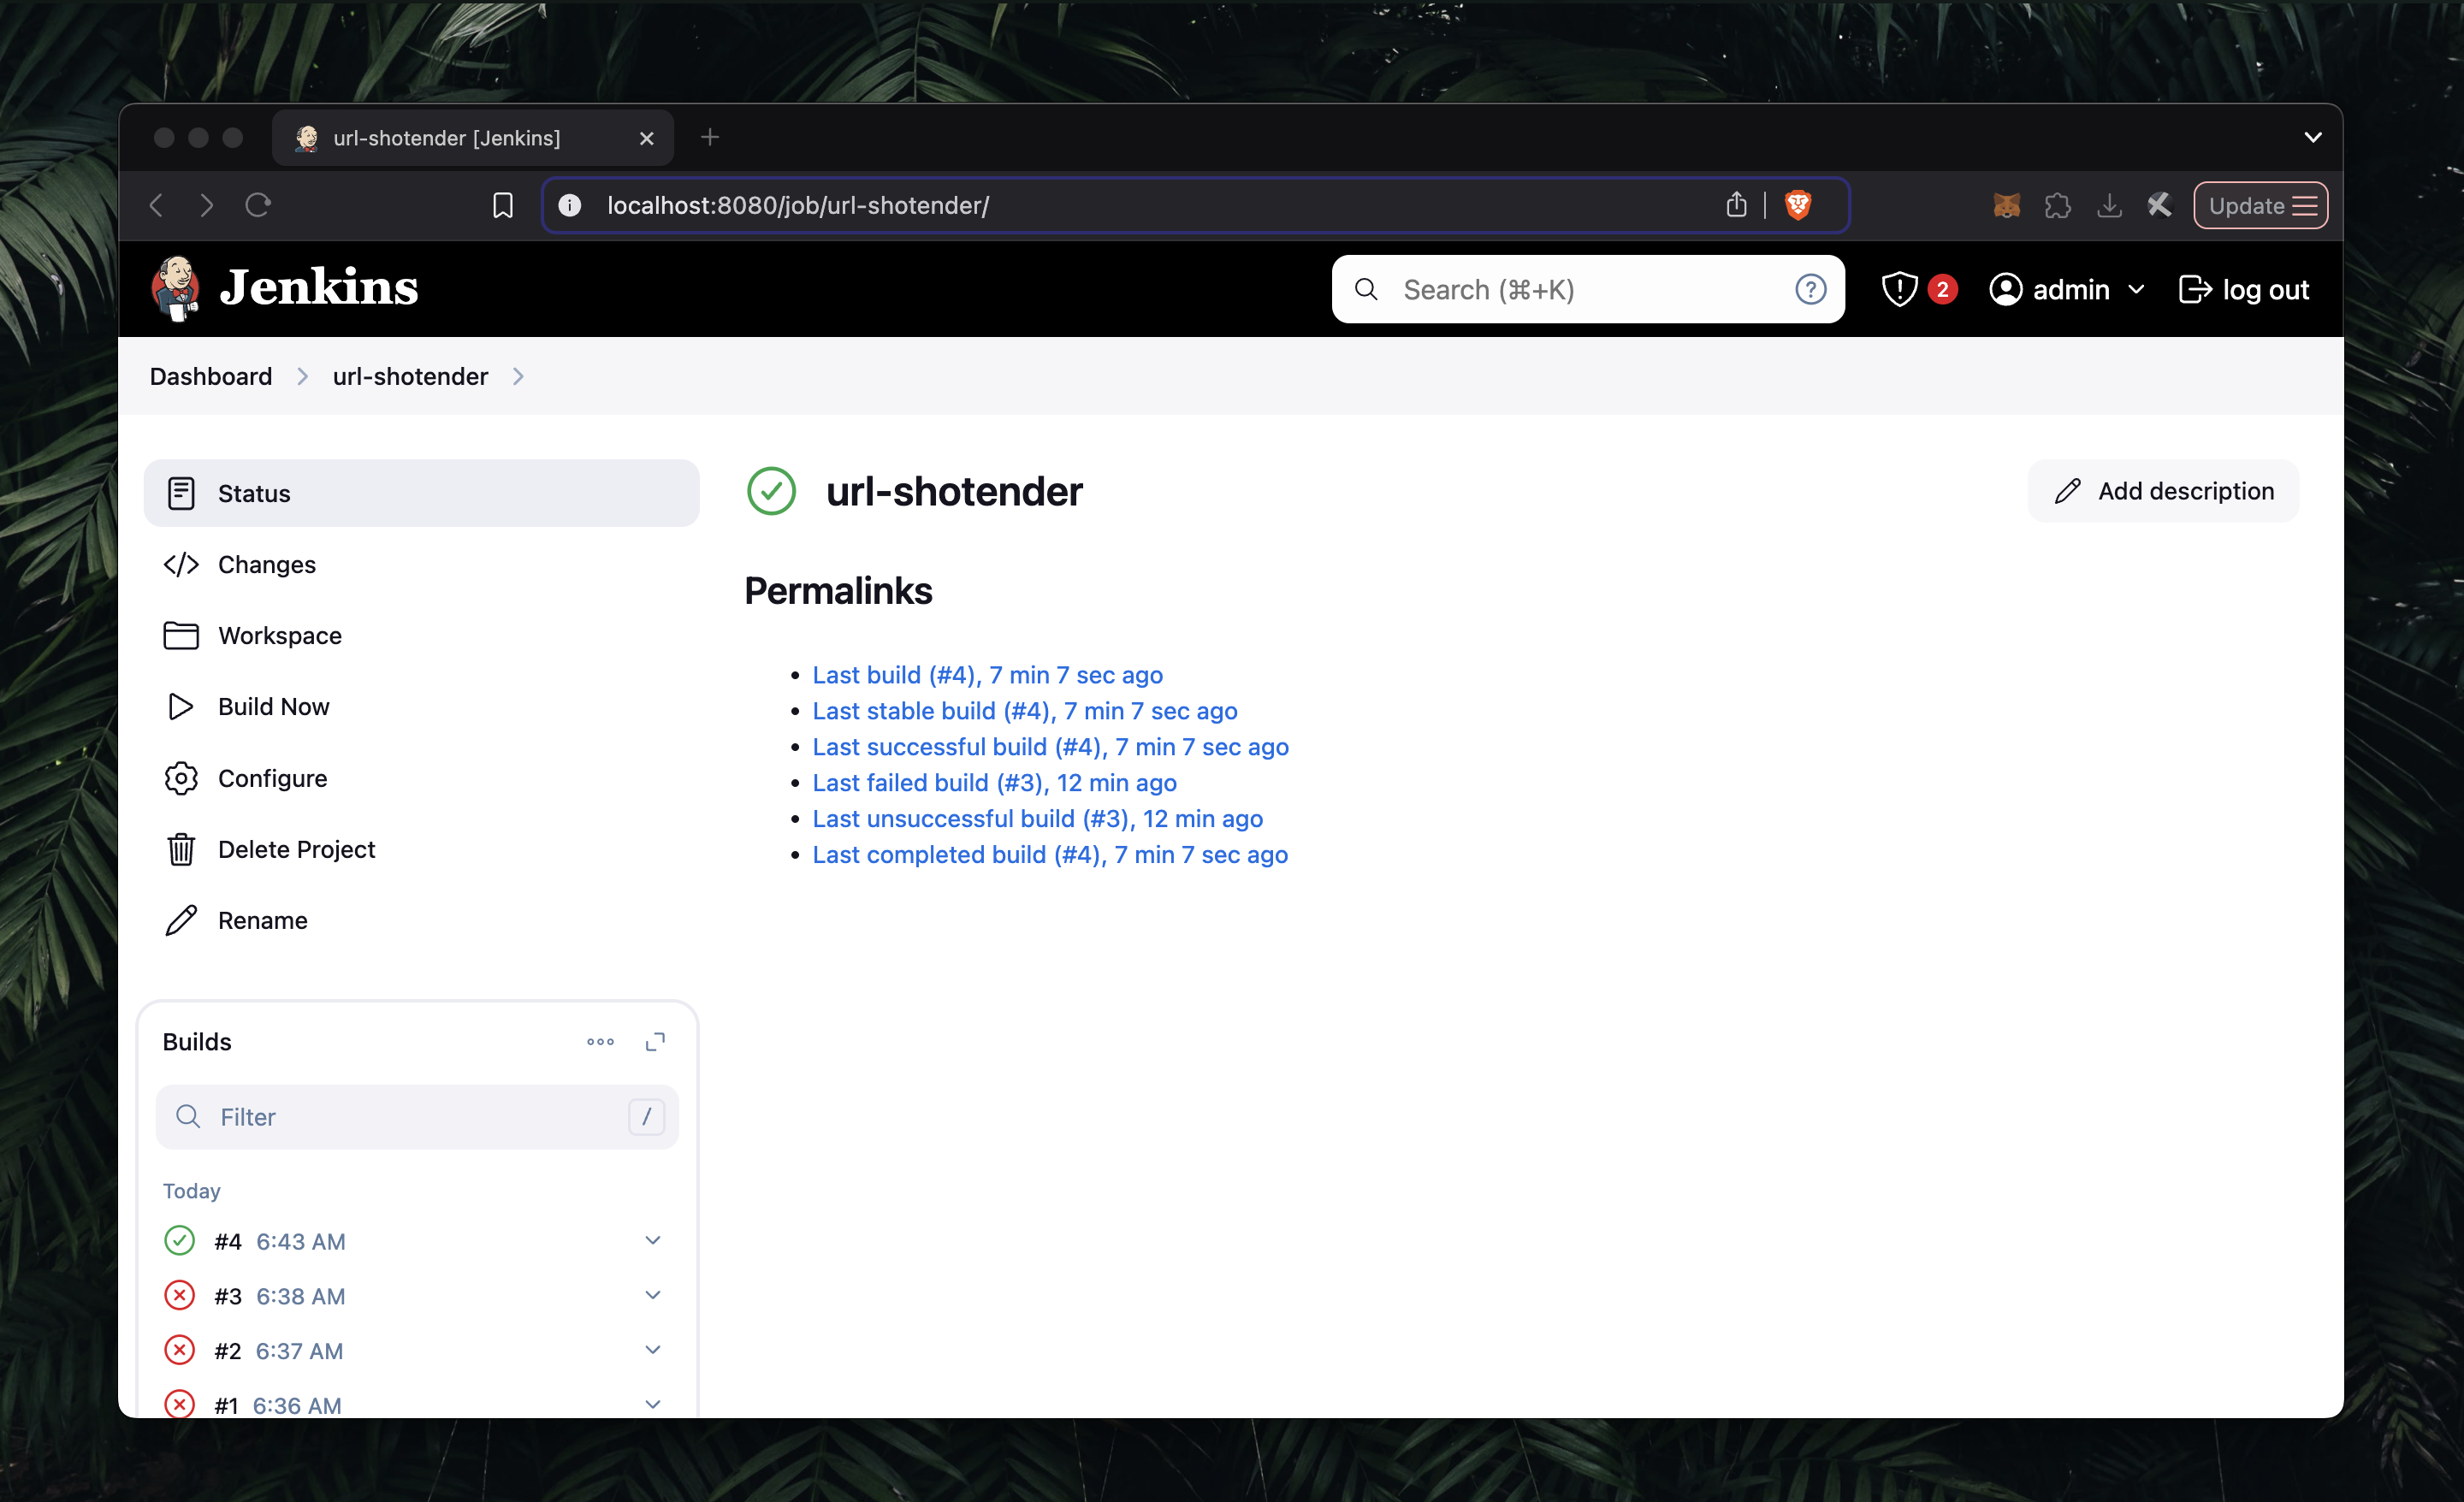
You have now set up the Jenkins pipeline for this project. Whenever a new commit is made to your repository, you can go to Jenkins and click on "Build Now." This will pull the latest code to your instance and build a new container accordingly.
Setup Nginx (optional)
To make the application accessible through the EC2 instance's IP address, we can configure Nginx to act as a reverse proxy. This will route incoming requests to your application running on the backend. By doing this, Nginx will handle traffic on a specified port (e.g., port 80 or 443) and forward it to the appropriate service or container running on the EC2 instance. Here's an example of how the Nginx configuration might look to achieve this:
 server {
     listen 80;
     listen [::]:80;

     server_name 47.129.4.87;

     location / {
        proxy_pass http://127.0.0.1:8080;
        proxy_http_version 1.1;
        proxy_set_header Upgrade $http_upgrade;
        proxy_set_header Connection 'upgrade';
        proxy_set_header Host $host;
        proxy_cache_bypass $http_upgrade;
   }

  location ~ /\. {
     access_log off;
     log_not_found off;
     deny all;
  }
 }
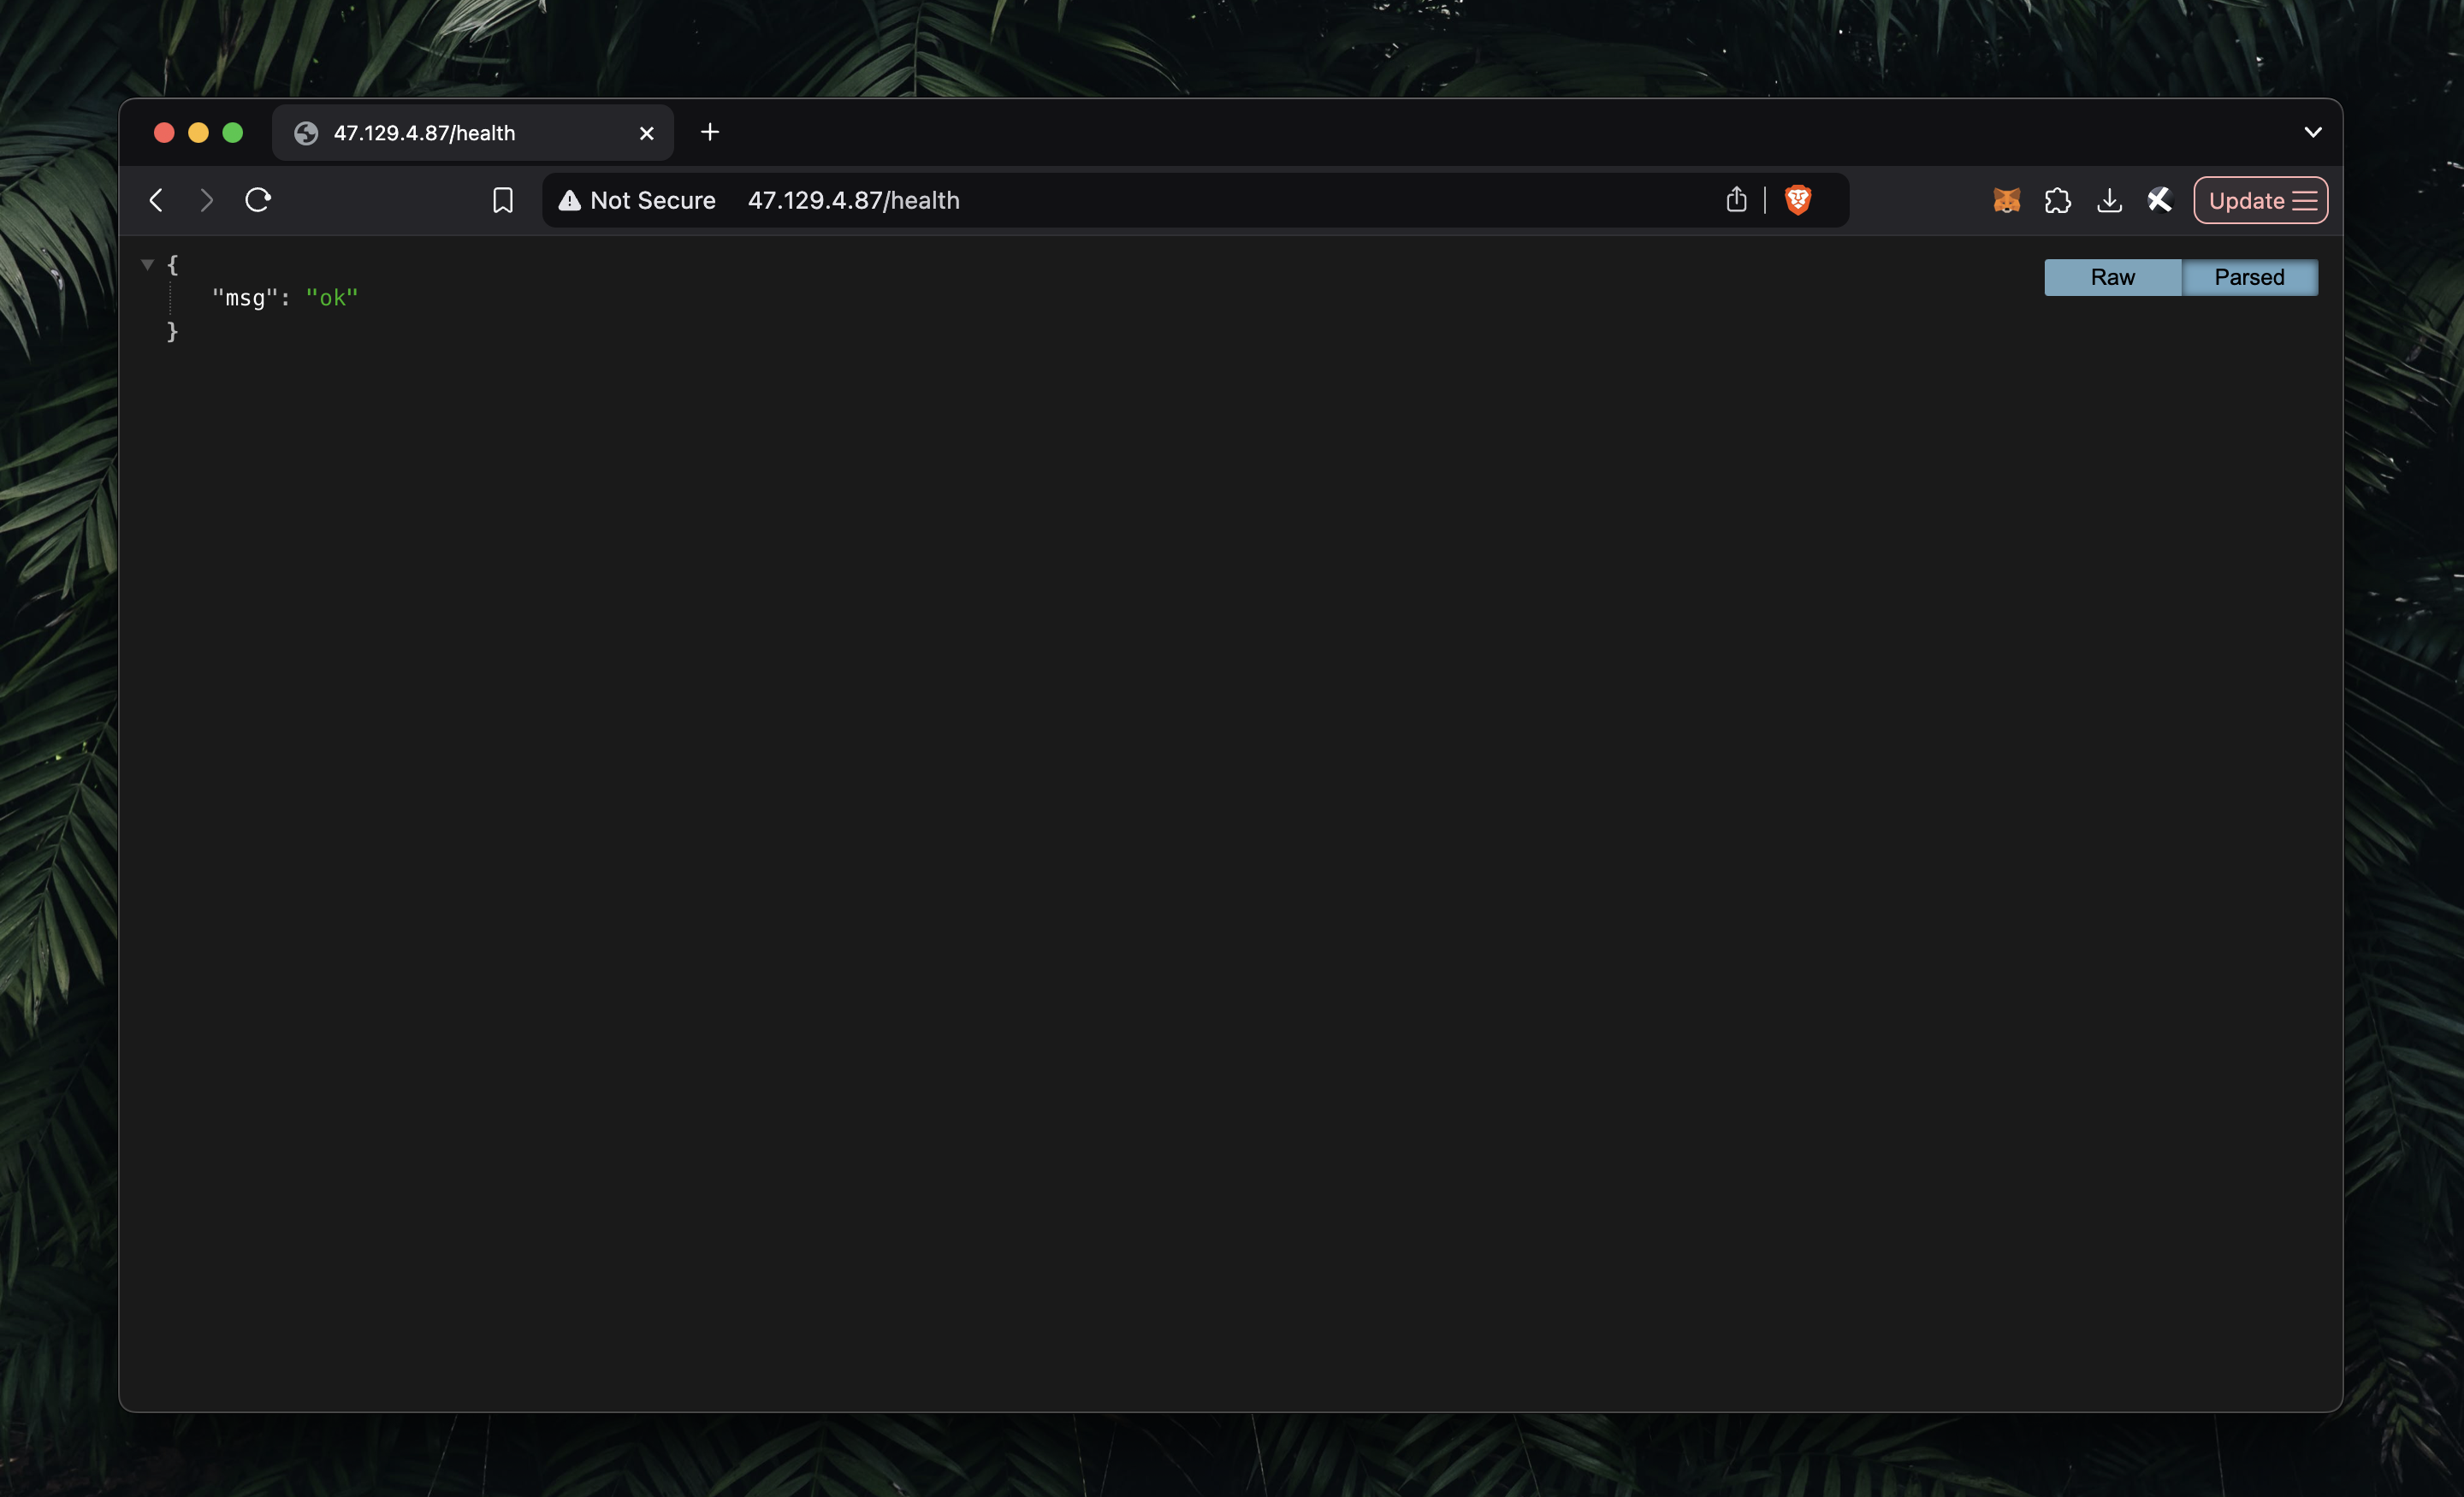
Once the setup is complete, you can access the result by opening the public IP address of your EC2 instance in a web browser.
Conclusion
That is it for this article. I hope you found this article useful, if you need any help please let me know by directly inbox.
Let's connect on Twitter and LinkedIn.
👋 Thanks for reading, See yaaaaaaaa